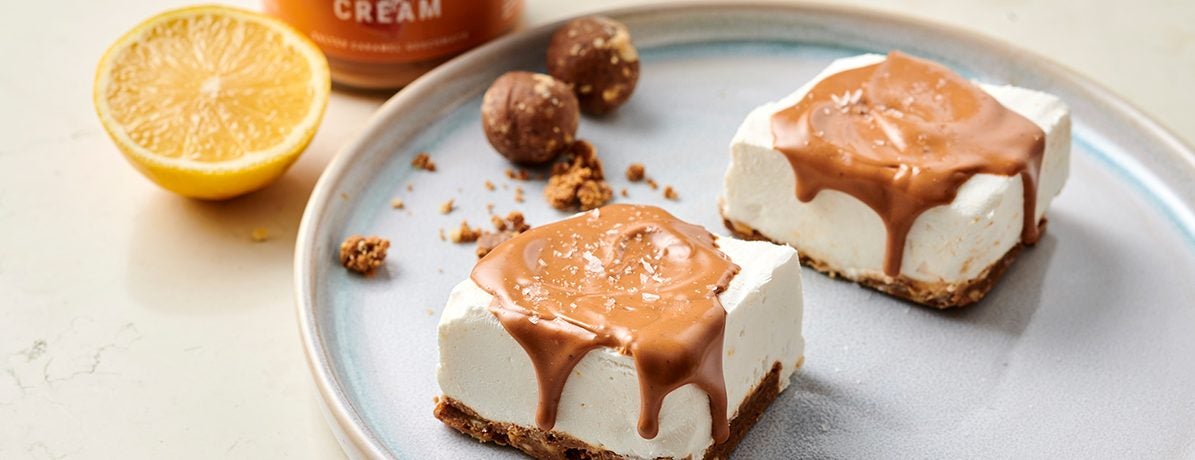
No-Bake Salted Caramel Cheesecakes
 ©foodspring
Ingredients
For the crust:
-
2 packages
For the cheesecakes:
-
1 canfull-fat coconut milk
-
3 tspFlavour Kick Vanilla
-
150 gcream cheese
-
1lemon (juice and zest)
For the topping:
-
80 gSalted Caramel Protein Cream
Preparation
-
1
Set the can of coconut milk upside down in the fridge overnight. If you skip this step, you can also pop it into the freezer upside down for 30 minutes before starting.
-
2
Line a small (15x15cm) square baking tray with plastic wrap.
-
3
To make the crust: Press the Protein Balls flat with the back of a spoon or with your hands. Add to the bottom of the baking tray. Press with your fingers until it’s spread evenly. The best way to do this is to put another sheet of plastic wrap on top for the pressing. (Remove it before you move on!)
-
4
Take the coconut milk out of the fridge or freezer. Flip back right-side-up and open the can. Now the creamy part should be solid. Take only this solid, creamy part and put it into a bowl. Save the liquid for smoothies, etc.
-
5
Add Flavor Kick to the coconut cream. Use a mixer or a beater to blend together on the highest setting for 2 minutes, until stiff.
-
6
In another bowl, whisk the cream cheese, lemon juice, and lemon zest until creamy.
-
7
Now add the cream cheese mixture to the coconut mixture. Blitz together for a few seconds on the lowest possible speed, just until everything has mixed and is fluffy. Don’t mix for too long.
-
8
Spread the mix evenly on the prepared crust. Refrigerate for 6-8 hours to firm up. This step is important and is best if done overnight!
-
9
Take the salted caramel cheesecakes out of the fridge. Lift out of the baking dish and carefully remove the plastic wrap. Cut into 6 pieces.
-
10
Soften the Protein Cream in the microwave or over a double boiler for 30 seconds. Top the salted caramel cheesecakes with the softened Protein Cream. Garnish with a pinch of salt.
-
1Enjoy!

- Personal BMI Calculation
- Helpful nutrition advice
- Products to help hit your goal


